How To Connect Condenser Mic To Speaker?
Connecting a microphone directly to a speaker is a straightforward process as long as you own the right gear. Although it is not recommended for professional purposes, knowing how to connect condenser mic to speakers often comes in handy. Most people have a powered speaker in their homes, which can be turned into a karaoke setup with a simple condenser microphone.
Let’s break down this process and understand what it takes to connect a condenser mic directly to the speaker. However, before we get into the steps, let’s understand a bit about microphones and why they will not work with every speaker.
Mic Level Vs Line Level Vs Speaker Level Signal
Mics record sound by converting sound waves into electrical signals, which are converted back to sound waves by speakers to reproduce the audio. It seems a simple process, but there is a lot that goes into making these conversions.
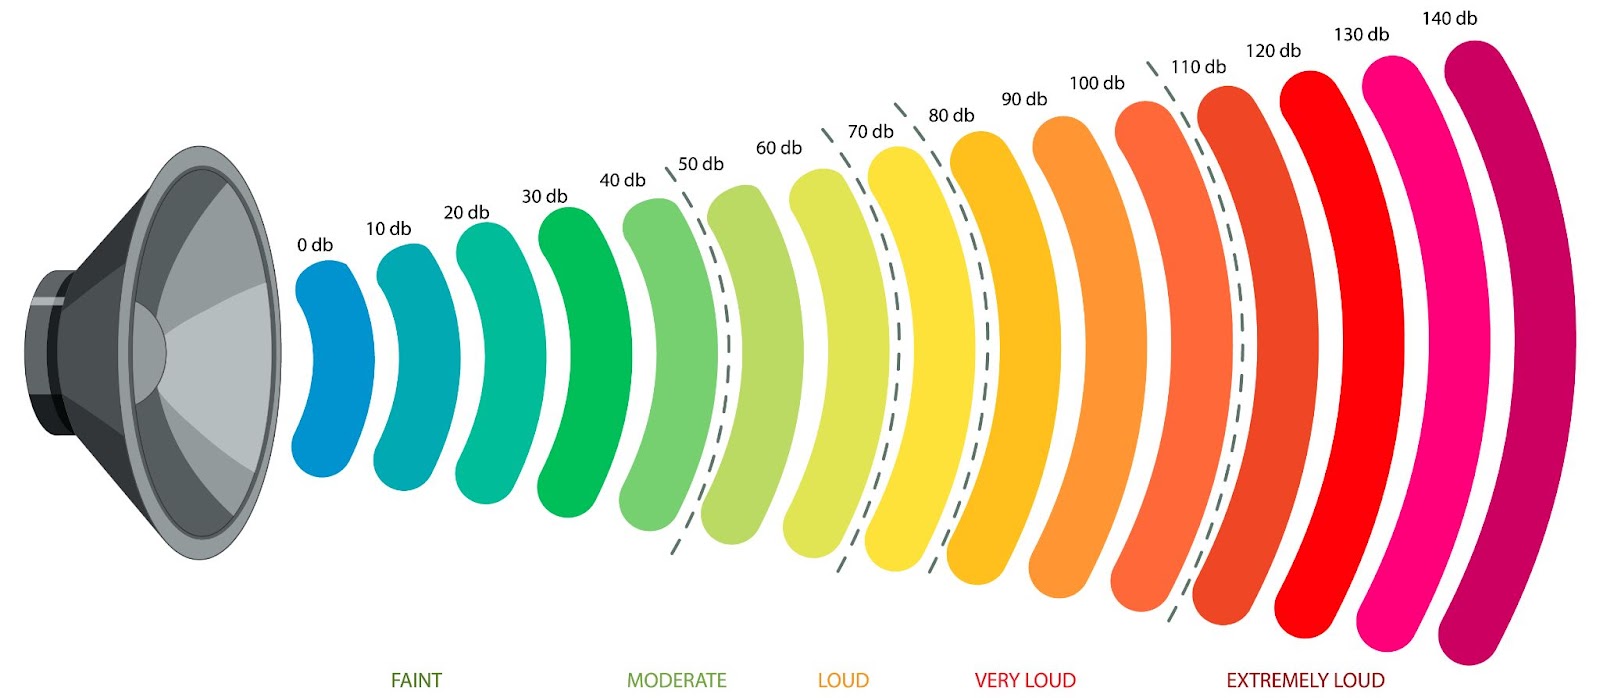
The electrical signal recorded by the mics is weak and is referred to as a mic-level signal. It typically ranges between -60 to -40 dBV which frequency response is not enough for speakers to reproduce the sound. Thus, you have to employ a mixer or amplifier to boost mic inputs to the speaker level.
Condenser mics use a preamp to boost their signal to line level, which is adequate for speakers. However, an audio interface is needed to convert the signal for digital processing.
Now the question is;
How To Connect Mic To Speaker Without Amplifier?
Generally, an amplifier refers to the external device which boosts the microphone signals. You do not always need such amplifiers to connect a microphone to speakers. Powered speakers have amplifiers built into them, which execute the same job as an external amplifier.

You only connect the microphone with the speaker and set the level to mic or line level signal, depending on the microphone type. The internal amplifier will boost the sound signal to the speaker level and reproduce the sound.
However, it also means that a microphone cannot be connected to a speaker that is not powered.
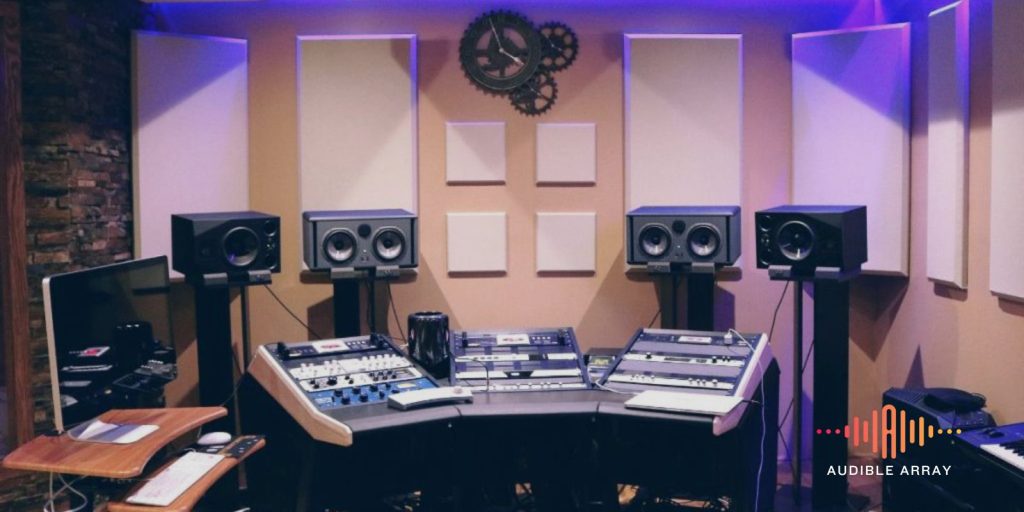
What Are Powered Speakers and How They Work?
Powered speakers perform two jobs: amplifying the sound signals and providing phantom power to the condenser microphones. Powered speakers can amplify the mic’s sound level sufficiently to drive the speakers directly. Condenser microphone needs external power to work, commonly known as Phantom Power. So, if a speaker has an amplifier but does not offer phantom power, it may work with a dynamic microphone, but it will not work with a condenser microphone.
That said, modern condenser mics can be powered via AA batteries in the absence of phantom power. Alternatively, an audio interface provides phantom power and analog-to-digital conversion. However, it is important to know these little details when purchasing a condenser microphone if you want to connect it directly to the speakers.

Can I Plug My Microphone Directly Into A Speaker?
You can plug a microphone directly into a speaker, provided the connectors of both devices are compatible with each other. There are three types of standard connectors in the audio industry: RCA, TRS, and XLR connectors. The XLR connector is preferred for professional purposes because of its superior sound quality, but the other two have their own benefits.
Most condenser mics, especially those designed for professionals, use XLR output. So, if the powered speaker does not have an XLR input, you cannot plug the mic directly into it. You will need an additional adapter to convert the XLR into TRS or RCA, according to the output of your speakers.
Step By Step Tutorial To Connect Condenser Microphone To A Speaker
You need three things to connect the condenser mic to a speaker, which include the following:
Step 1: Find The Input Ports On Speaker
You will have to look for the type of input your powered speaker accepts. If it accepts an XLR connection, you will need an XLR cable. While you will find XLR input on most modern powered speakers, some may only offer aux input.

You will be fine if the wired microphone offers a TRS output, but if not, you will have to purchase an adapter to convert XLR to TRS so it can be connected to the aux input.
Step 2: Make The Connection
Once you find the compatible cable, make the connection. The length of the cable should be as short as possible if you want to get the best results. Long cables decrease impedance and distort audio quality. So, if your condenser microphone already has a low impedance, it is best to keep an eye out for the cable’s length.
Step 3: Set The Mic Signal
After making the connection, adjust the mic signal via the knob next to the speaker’s input. Since you have no readings of the mic signal, you will have to experiment at different levels to find the right level for you. Once the speaker starts to reproduce all notes accurately, the mic level signals adjustment becomes optimal.
Step 4: Minimize Feedback Loop
Lower the speaker output and microphone input to reduce the feedback loop. You must also try to keep the microphone as far away from the speakers as possible. If the microphone has a unidirectional polar pattern, engage it.
Disadvantages of Connecting Microphone Directly To Speaker
Connecting a microphone directly to a speaker is not recommended for professional purposes, mainly because you lose all the control offered by mixers. Additionally, using conversion adapters can deteriorate audio quality, which becomes unusable for a sound engineer and other professionals.
Frequently Asked Questions

Sharoon Shahid
Hi! I’m Sharoon Shahid, founder of Audiblearray. With a decade of experience in using mics, I’m here to guide you on your audio journey and save you from gear pitfalls!